Setting Up Your Company Profile
Last updated: Feb 2026
Estimated time to complete: 5 min.
Applies to: Air Conditioning Engineers
Summary
Configure your company name, logo, contact details, and branding so every quote looks professional and onbrand.
Your company profile is the foundation of every quote you send. The details you set here - your company name, logo, colours, and contact information appear on branded PDFs, customer emails, and your website widget.
Getting this right from the start means every quote looks polished and professional.
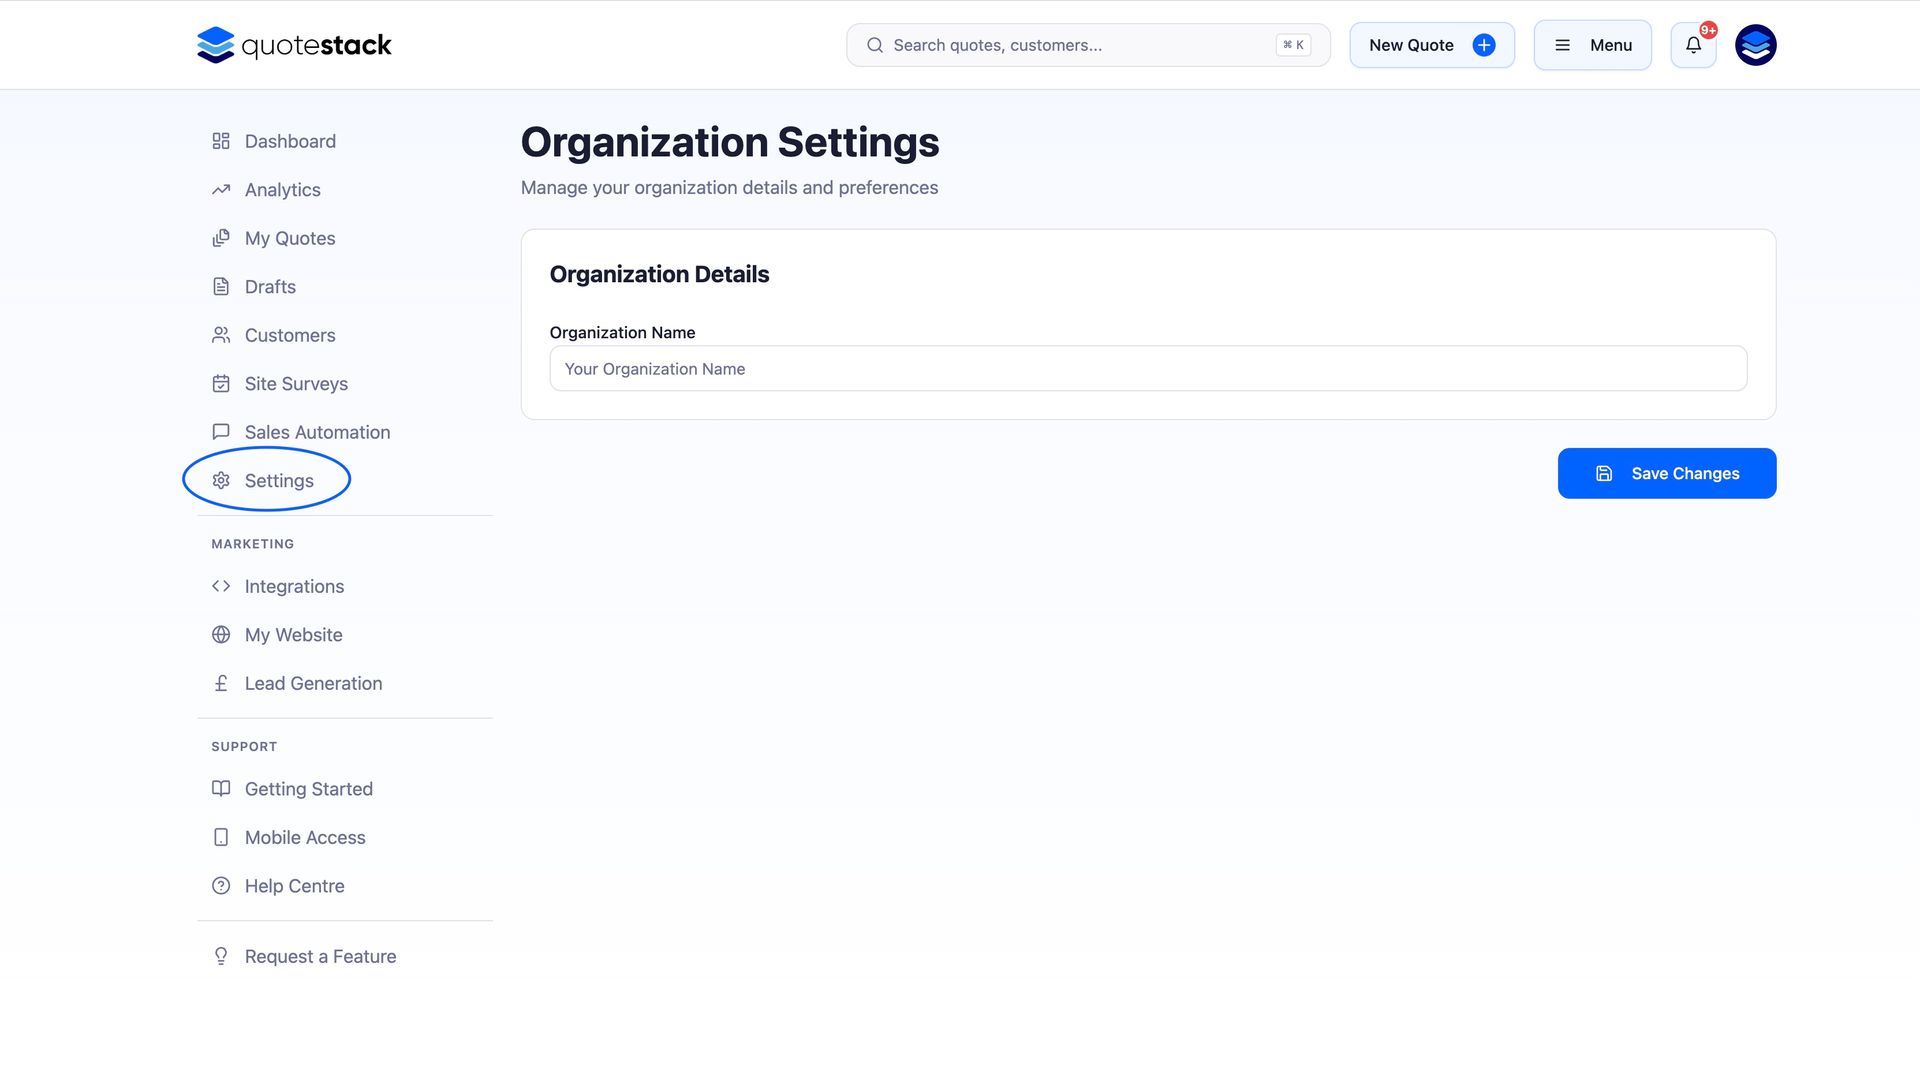
Where to Find Your Settings
Navigate to Settings from the sidebar menu. Your company profile settings are organised across several tabs, but the key sections are Company Info and Branding.
What You’ll Learn
- How to enter your company branding to your Quotestack account
- How to upload your prefferred contact details to receive and send information from
- What appears on your quotes
Step-by-Step Guide
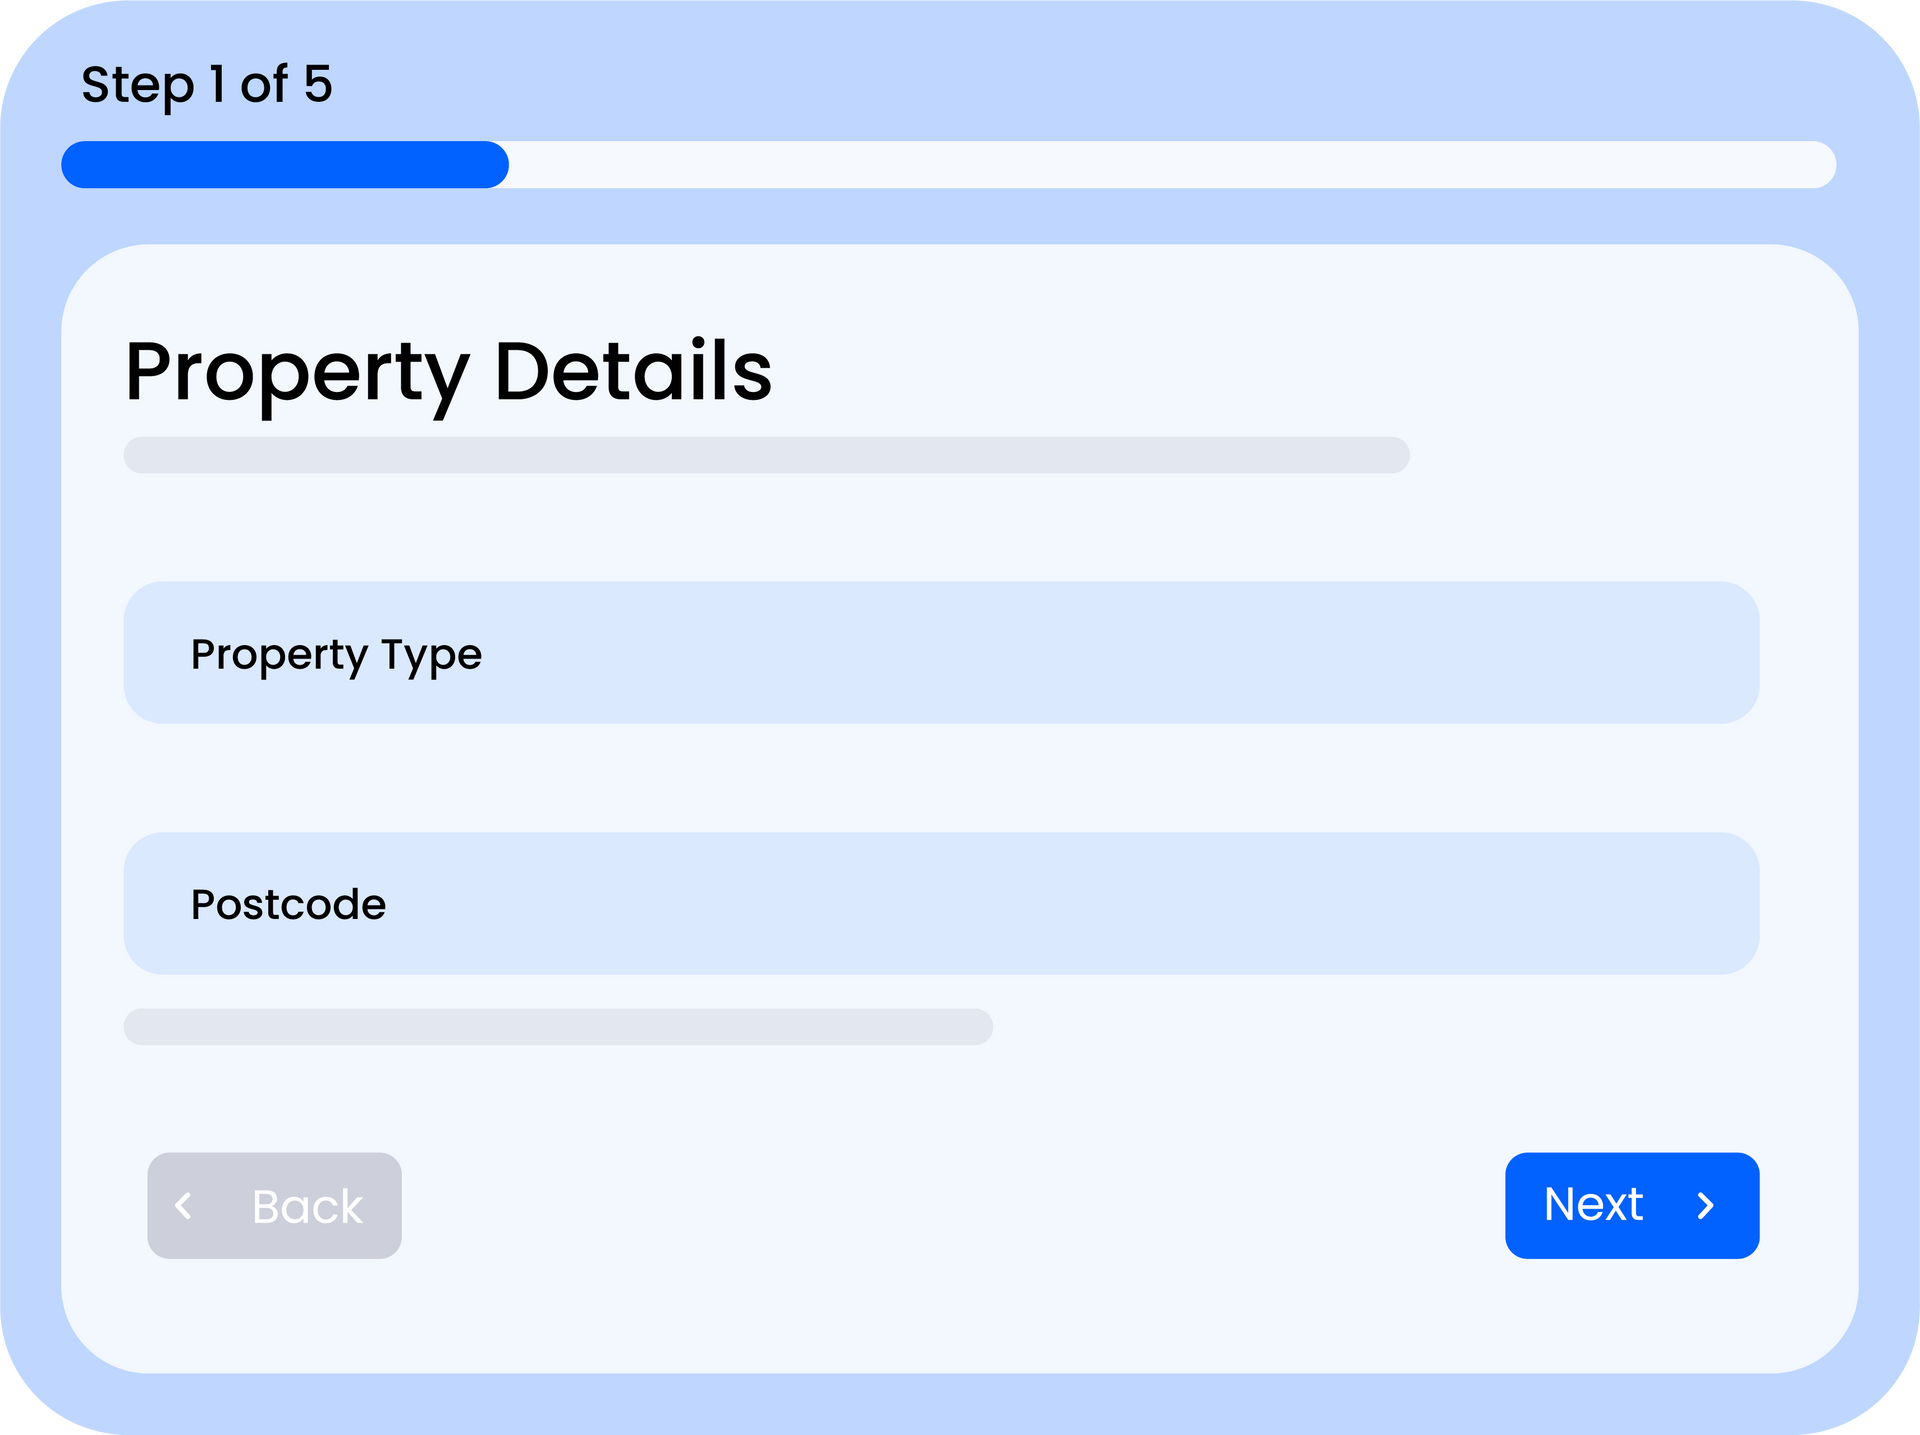
Step 1. Add Your Company Name and Details
Enter your company name, business address, contact email, and phone number. These details are displayed on your quote PDFs and in customer-facing emails. If you have an F-Gas registration number, add it here too - it'll appear on your quotes for compliance.
Note
Your company name is used as the header on every PDF quote, so make sure it matches your official trading name.
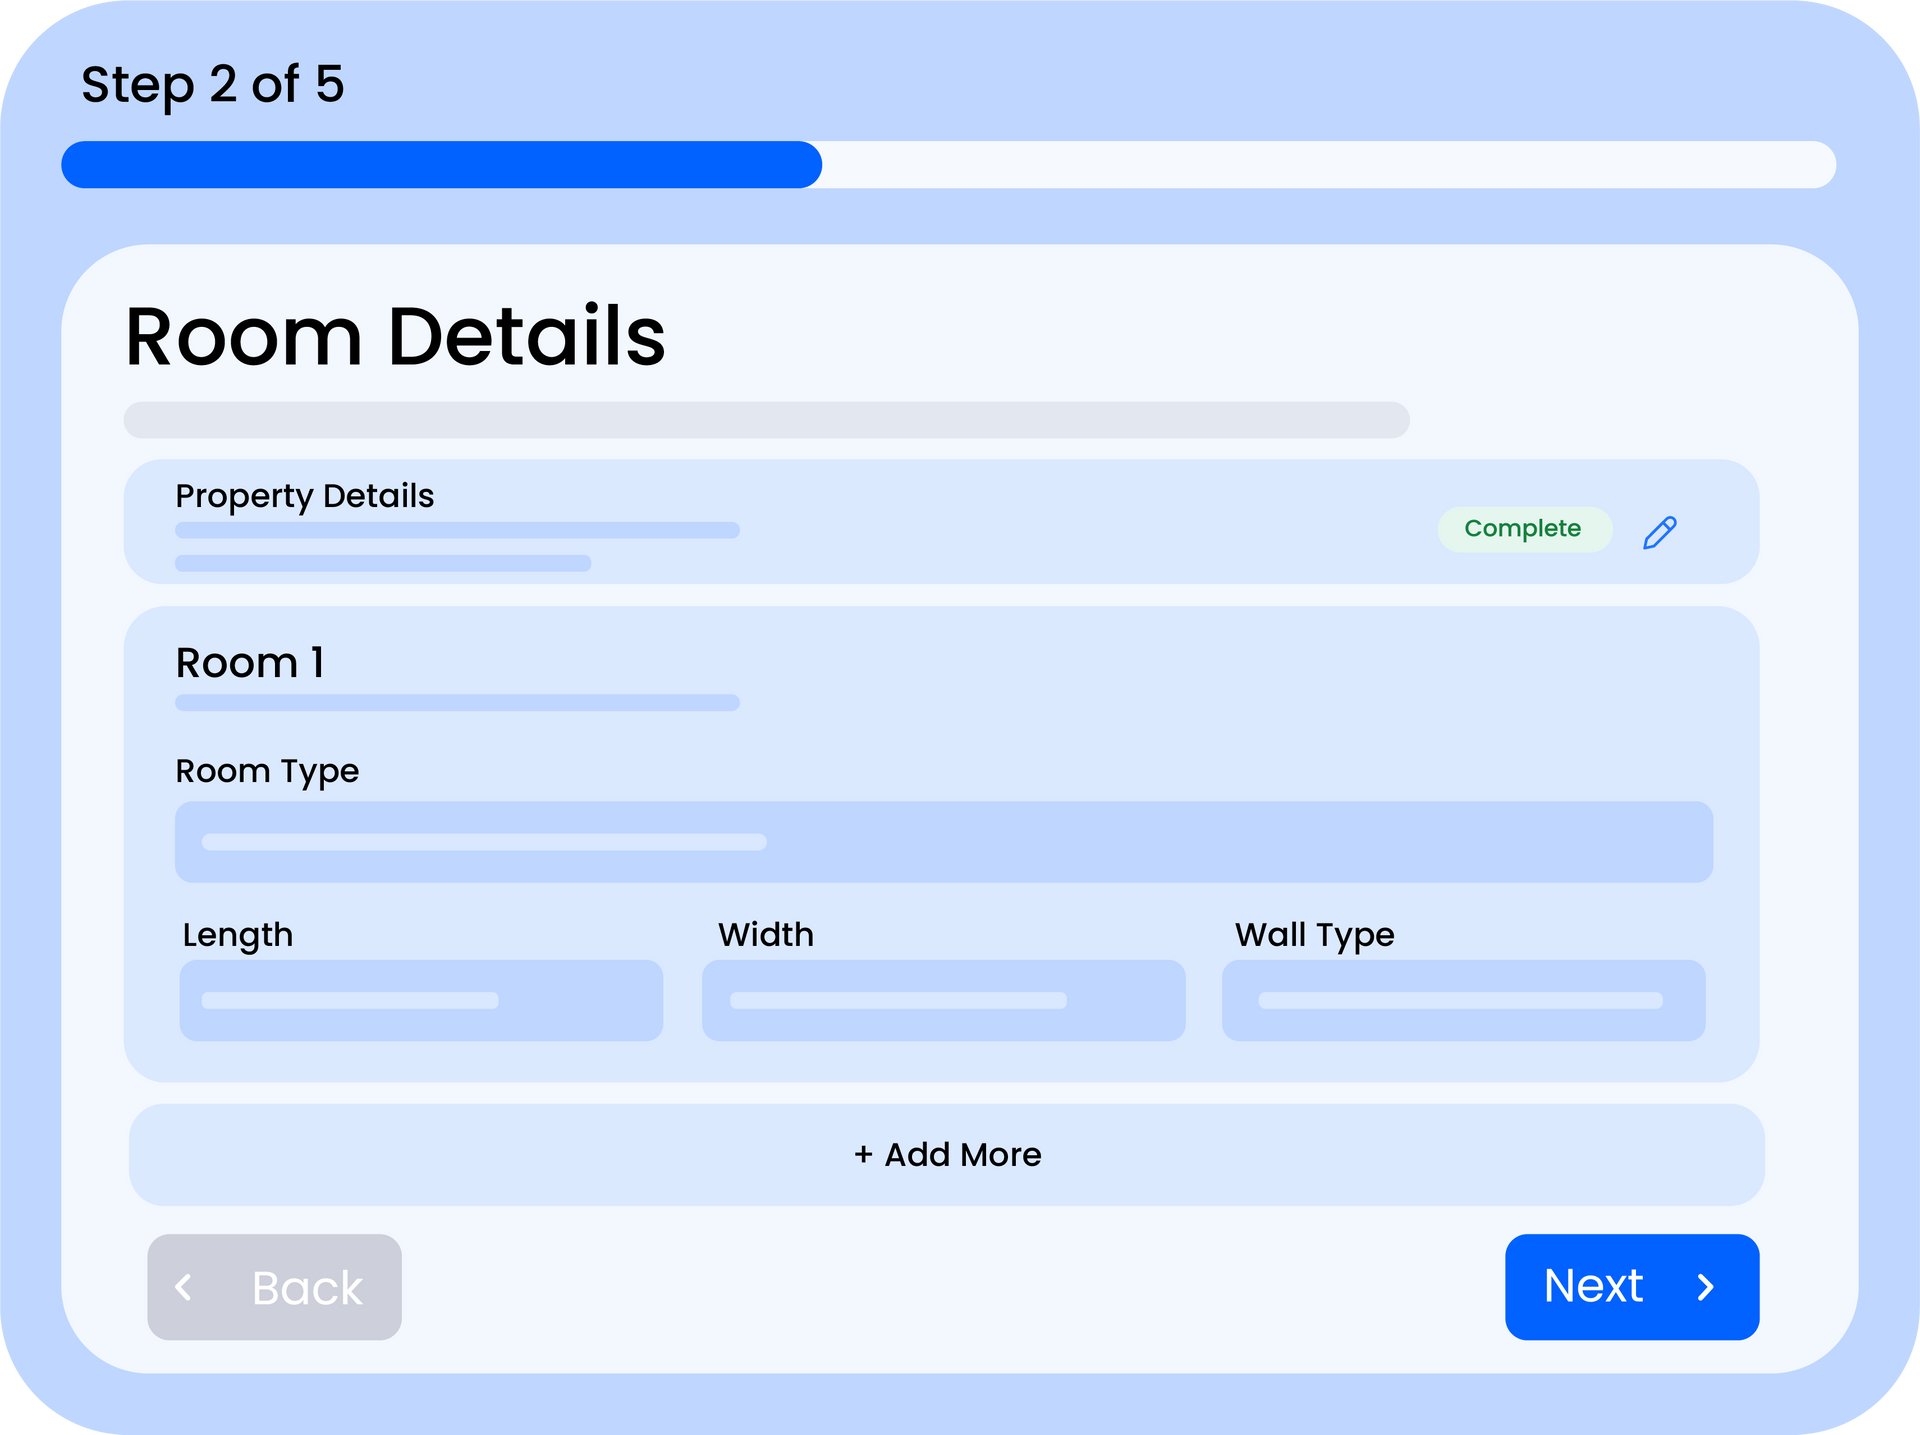
Step 2. Upload Your Company Logo
Upload your company logo to appear on quote PDFs and email communications. For best results, use a high-resolution PNG or JPG with a transparent or white background. The logo is displayed at the top of every branded quote PDF.
Note
You can also upload secondary logos if you hold accreditations or manufacturer partnerships — these appear in the footer of your quote PDFs.
Step 3. Set Your Brand Colours
Choose a primary and secondary colour for your brand. These colours are used throughout your quote PDFs, the customer-facing widget, and email templates. Pick colours that match your existing branding for a consistent look across all customer touchpoints.
Step 4. Configure Your Contact Email
Set the email address that appears as the sender on quote emails and follow-up communications. You can also customise the "From" name so customers see your company name rather than a generic address.
Warning
If you change your contact email, make sure it's a valid address you have access to — customer replies will be sent there.
Step 5. Add Your Website
Enter your company website URL. This is displayed on quote PDFs and helps customers find more information about your services.
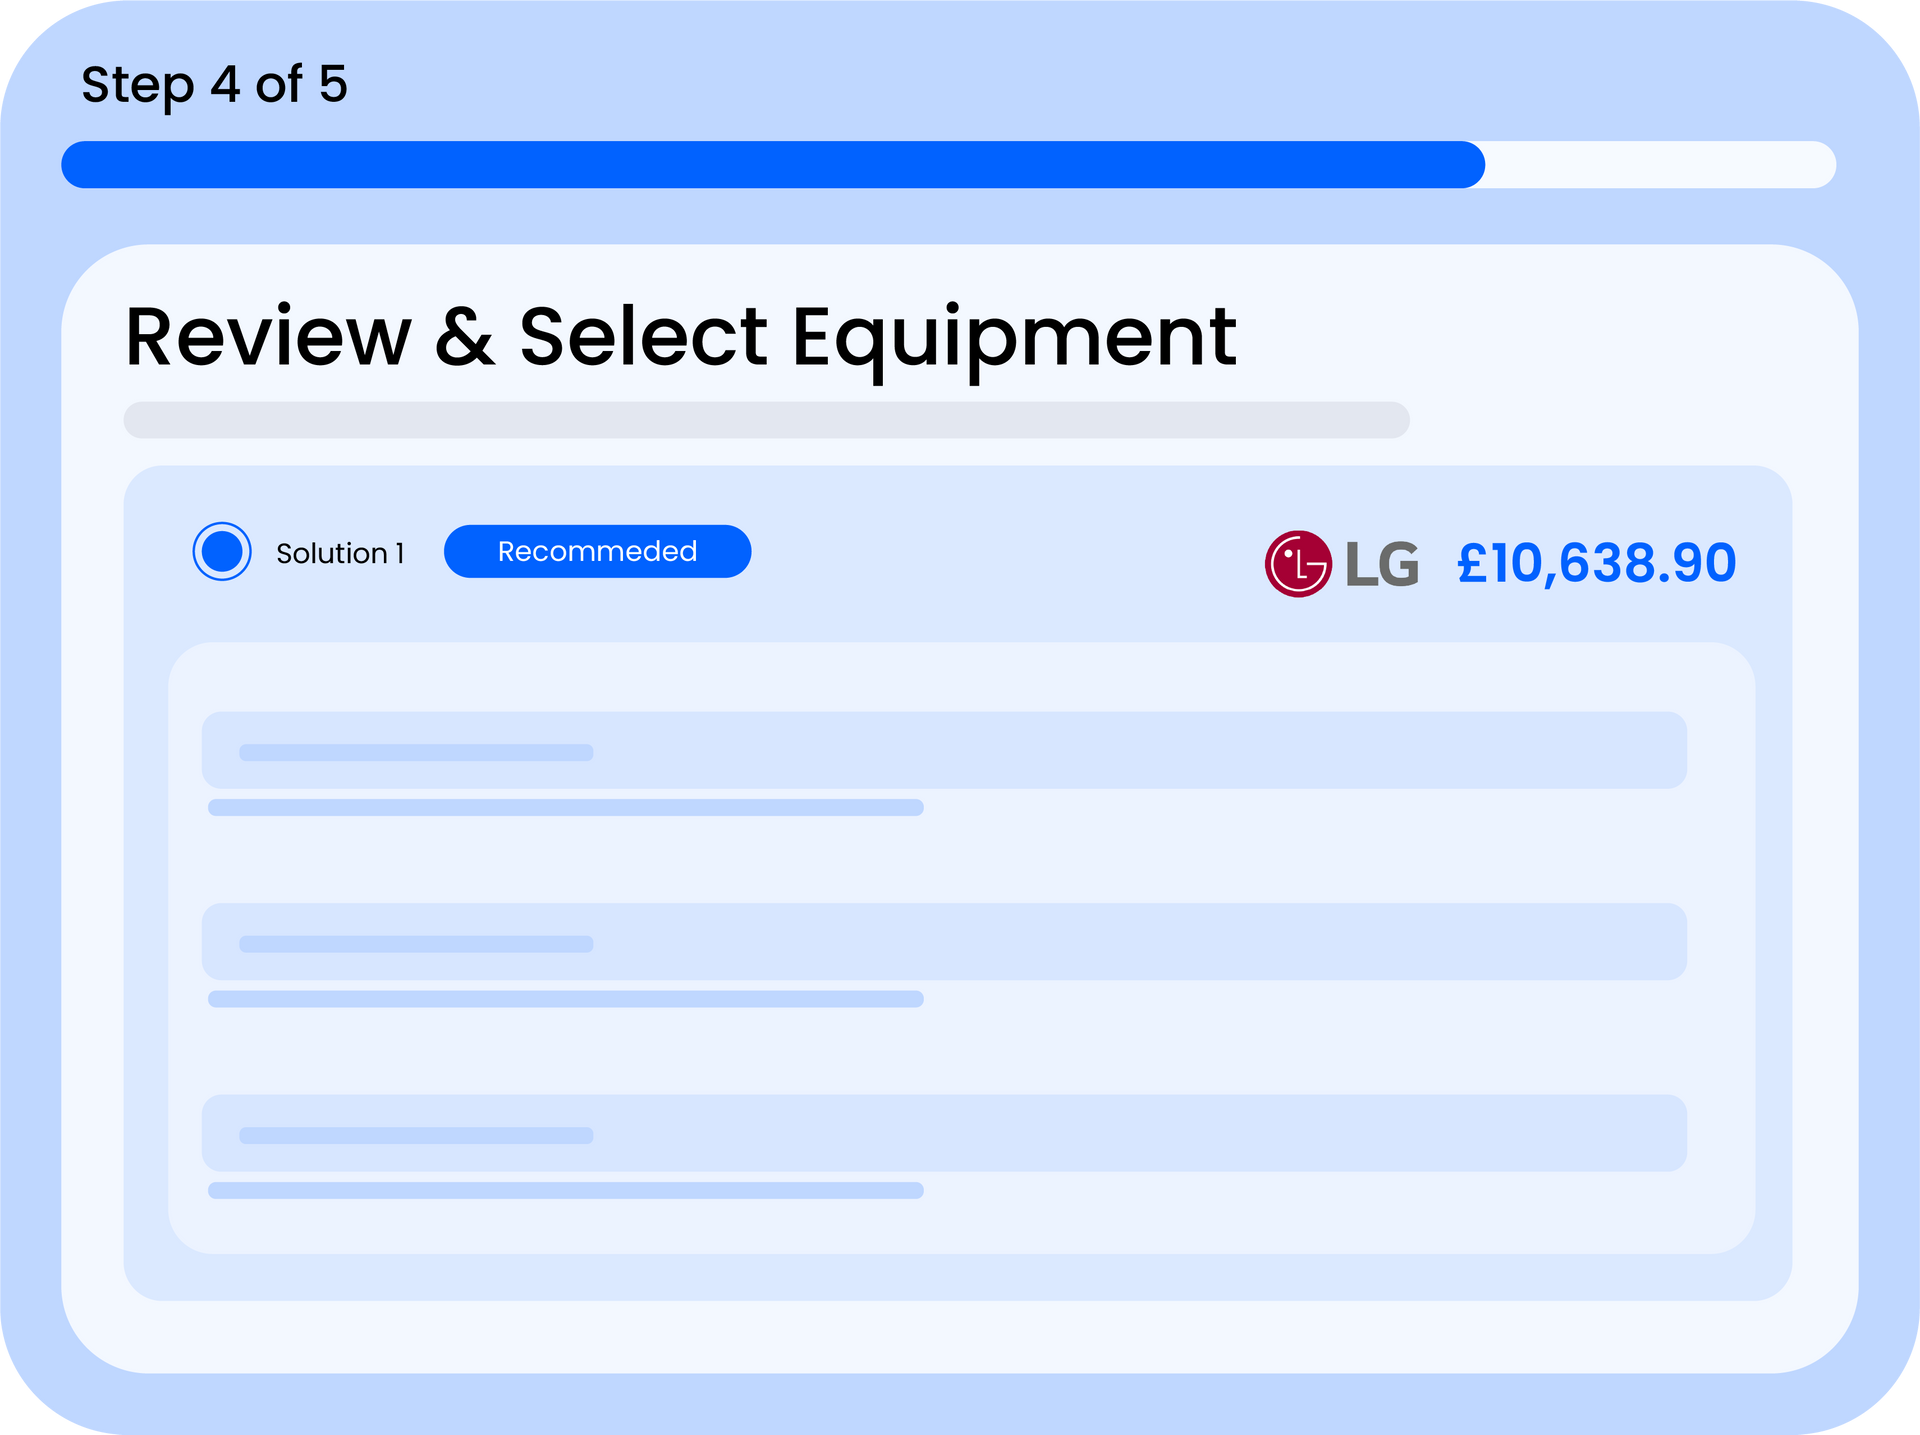
Step 6. Preview Your Branding
Use the PDF Preview in the Branding section to see exactly how your logo, colours, and company details will appear on a finished quote. This lets you check everything looks right before sending quotes to customers.
Note
You can update your branding at any time. Changes apply to all new quotes going forward — previously generated PDFs keep their original branding.
What Appears on Your Quotes
- Company logo - displayed at the top of every PDF quote
- Company name - used as the main header
- Contact email and phone - shown in the quote footer for customer enquiries
- Business address - included for professional credibility
- F-Gas number - displayed for regulatory compliance
- Brand colours - applied to headers, borders, and accent elements throughout the PDF
- Secondary logos - shown in the footer for accreditations and partnerships
Once your company profile is set up, every quote you create will automatically include your branding. You won't need to configure this again unless your details change..
Did this answer your question?
😃
😐
😞
Great! We’re glad we could help.
Not quite what you needed? Discover more articles here
If you'd like you can ask our team